
Keep it simple: use Starlink’s bypass mode
Setting Up a Bypass Router With Starlink: Google Nest, Eero, TP-Link, and More
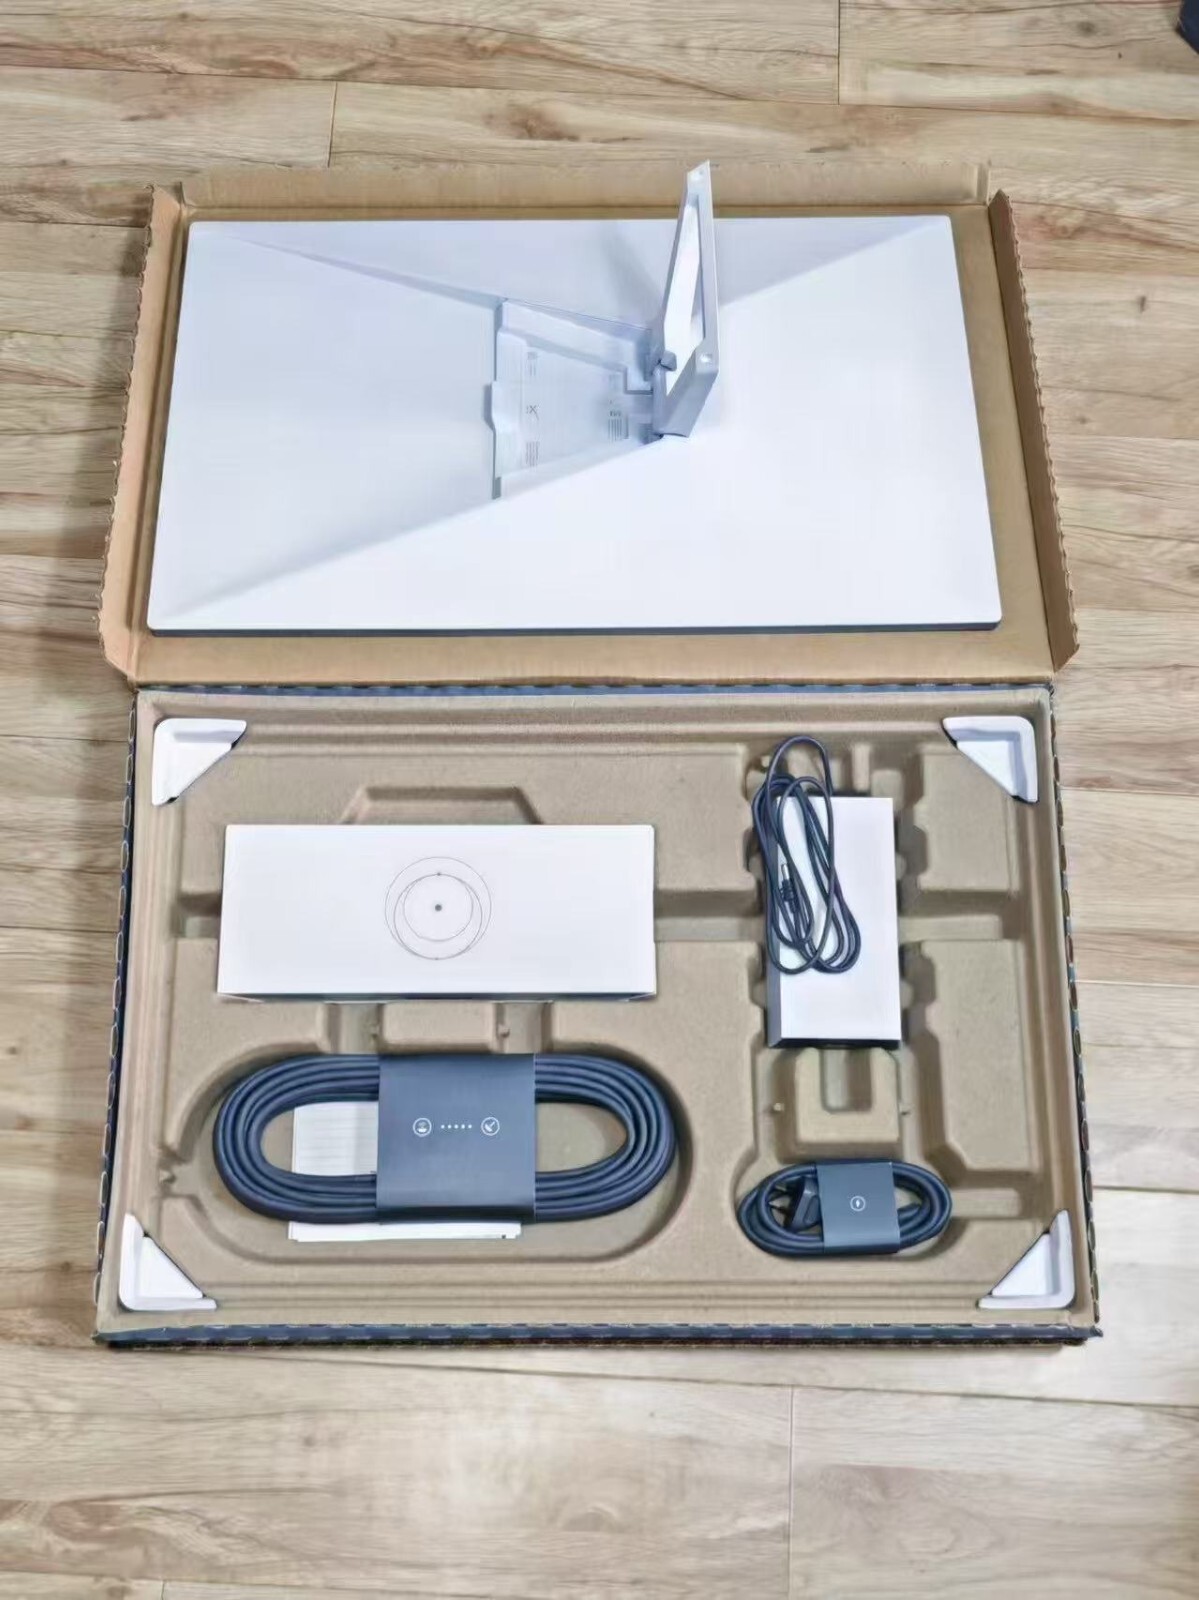
You probably already know that the Starlink kit ships with its own router. It is a capable piece of hardware for basic use, and for many households it is perfectly adequate right out of the box. But a significant number of Starlink subscribers — particularly those who already own a preferred router, run a home network with specific requirements, or simply want more control than the Starlink router offers — choose to run their own router instead. If you’ve already have a mesh system dialed in, of course you should use it.
This is done by putting Starlink into bypass mode, and it is one of the best quality-of-life improvements you can make to a Starlink installation. This post explains what bypass mode is, why you might want it, and walks you through setting it up with three of the most popular third-party router choices: Google Nest, Eero, and TP-Link.
What Is Bypass Mode and Why Does It Matter?
By default, the Starlink router performs two functions simultaneously. It manages the connection between the dish and the internet, and it runs your home Wi-Fi network. These are two distinct jobs, and there is no technical reason they need to be handled by the same device.
Bypass mode — Starlink’s term for what is sometimes called IP passthrough on other ISP equipment — tells the Starlink router to stop acting as a router and start acting more like a simple modem. It passes the internet connection through to whatever device is plugged into its Ethernet port, and that device takes over all routing and Wi-Fi duties.
When bypass mode is active, the Starlink router’s own Wi-Fi is disabled. Your third-party router becomes the single authoritative device managing your home network.
Why This Is Better Than Running Both
Without bypass mode, if you plug a third-party router into the Starlink router’s Ethernet port, you end up with double NAT — two devices both performing Network Address Translation simultaneously. Your devices are assigned addresses by the third-party router, which itself has an address assigned by the Starlink router, which has an address assigned by Starlink’s network infrastructure. This three-layer arrangement causes problems for:
Online gaming and peer-to-peer applications that need open NAT
VoIP and video conferencing in some configurations
VPN connections, particularly site-to-site VPNs
Self-hosted services and any application that requires port forwarding
Smart home hubs and some IoT devices that use UPnP
Bypass mode collapses this to a single NAT layer, which is how a normally functioning home network operates.
What You Need Before You Start
Regardless of which router you are setting up, you will need:
An Ethernet cable. A Cat5e or Cat6 cable running from the Starlink Ethernet adapter to the WAN port of your third-party router. The length depends on your setup — measure the run before buying.
The Starlink app installed on your phone. Bypass mode is enabled through the app, not through any web interface.
Your third-party router, set up and powered on. It does not need to be fully configured yet, but it should be powered on and reachable.

Understanding Starlink’s Network Limitations Before You Begin
Before configuring any third-party router with Starlink, you need to understand one fundamental constraint that affects everyone on the Starlink residential service: CGNAT.
Starlink uses Carrier Grade Network Address Translation, which means your connection does not receive a dedicated public IP address. Instead, many Starlink subscribers share a pool of public IPs managed by Starlink’s infrastructure. From the perspective of the internet, multiple households appear to be coming from the same address.
What this means practically:
Standard port forwarding will not work for making services publicly accessible from the internet
Hosting game servers, web servers, or any externally accessible service from your home requires a workaround
Some VPN configurations and peer-to-peer applications are affected
What this does not affect:
All outbound traffic — browsing, streaming, video calls, gaming as a client, downloads
Internal home network routing and management
The performance or reliability of your connection
Bypass mode does not change or workaround the CGNAT limitation — it exists at Starlink’s network level, not at your router level. We will cover CGNAT workarounds including Cloudflare Tunnels and Tailscale in a dedicated future post. For now, just know it exists.
Enabling Bypass Mode in the Starlink App
The process for enabling bypass mode is the same regardless of which router you are connecting. Do this before touching your third-party router configuration.
Open the Starlink app on your phone
Tap the Settings icon (gear symbol) on the main screen
Scroll down to find Advanced or Router settings — the exact label has varied slightly across app versions but it is clearly present
Look for Bypass Mode or Router Bypass and toggle it on
The app will warn you that the Starlink router’s Wi-Fi will be disabled — confirm this
The Starlink router will reboot. This takes approximately 60 to 90 seconds
Once the router comes back online, its Wi-Fi will be off and it will be passing the internet connection through to whatever is plugged into the Ethernet adapter. Your third-party router, connected via Ethernet to that adapter, will now receive the upstream connection and can take over from there.
One important note: after enabling bypass mode, the Starlink app may show limited information about your connection because it communicates with the Starlink router over Wi-Fi, which is now disabled. You will still be able to see dish status and obstruction data, but some network statistics may be unavailable. This is expected behavior and not a sign that anything is wrong.
Setting Up Google Nest Wi-Fi in Bypass Mode
Google Nest is one of the most popular router choices among Starlink subscribers, and it is what many readers in this community are already running. It is consumer-friendly, manages well through the Google Home app, and the mesh system performs reliably in typical home environments.
What You Are Working With
Google’s current home networking lineup includes the Nest Wi-Fi Pro (Wi-Fi 6E, tri-band) and the older Nest Wi-Fi (Wi-Fi 5, dual-band with satellite points). Both work with Starlink in bypass mode using the same process.
Physical Connection
Connect an Ethernet cable from the Starlink Ethernet adapter to the WAN port on your Google Nest router. The WAN port on Nest routers is typically labeled or distinguished from the LAN ports — on the Nest Wi-Fi Pro it is the port closest to the power connector. Consult your specific model’s documentation if you are unsure which port is WAN.
Configuration
Google Nest routers are configured exclusively through the Google Home app — there is no web interface. If you have not already done so, add your Nest router to Google Home during the setup process.
During initial setup, the Google Home app will walk you through network configuration. When prompted about your internet connection type, select DHCP — Starlink in bypass mode distributes an IP address via DHCP and the Nest router should pick it up automatically without any additional configuration on your part.
If you are adding Nest to an existing Starlink setup that was previously using the Starlink router, you may need to power cycle the Starlink router after enabling bypass mode and before the Nest router requests its IP address. The sequence that works most reliably is:
Enable bypass mode in the Starlink app and wait for the reboot to complete
Power off the Nest router
Wait 30 seconds
Power the Nest router back on
Allow two to three minutes for it to acquire an IP address and establish the connection
Adding Nest Points for Mesh Coverage
Additional Google Nest points or Nest Wi-Fi Pro nodes are added through the Google Home app in the normal fashion after the primary router is online. They connect to the primary router wirelessly unless you have Ethernet runs available, in which case a wired backhaul connection to each satellite node gives you better performance.
Things to Know About Google Nest
Google Nest routers are designed around simplicity and offer limited advanced configuration options. You cannot set custom DNS servers through the standard app interface on older Nest models, though the Nest Wi-Fi Pro has expanded this somewhat. There is no VLAN support, no detailed traffic monitoring, and no granular firewall rules available to the end user.
For the vast majority of home users this is completely fine — the network just works and requires minimal attention. If you need advanced configuration capability, TP-Link or a more configurable platform is a better fit.
Setting Up Eero in Bypass Mode
Eero, now owned by Amazon, is another very popular choice with Starlink users. Its app-based management is polished, its mesh performance is strong, and the integration with Amazon devices and Alexa is a bonus for households already in that ecosystem.
What You Are Working With
The current Eero lineup includes the Eero Max 7 (Wi-Fi 7, wired backhaul capable), Eero Pro 6E (Wi-Fi 6E, tri-band), Eero Pro 6 (Wi-Fi 6, tri-band), and the standard Eero 6 and Eero 6+. All work with Starlink in bypass mode.
Physical Connection
Connect an Ethernet cable from the Starlink Ethernet adapter to any Ethernet port on your primary Eero unit. Unlike some routers, Eero does not distinguish between WAN and LAN ports in hardware — it determines which port is receiving the upstream connection automatically through software. This makes the physical connection straightforward.
Configuration
Eero is managed through the Eero app on iOS or Android. During initial setup the app will detect the upstream connection and configure itself. As with Google Nest, select DHCP when asked about your connection type and Eero will acquire an IP address from the Starlink system automatically.
The same power cycle sequence described for Google Nest applies here if you are transitioning from the Starlink router:
Enable bypass mode, wait for Starlink router reboot
Power off Eero
Wait 30 seconds
Power Eero back on and allow time to connect
Eero-Specific Features Worth Knowing
Eero offers Eero Plus, a subscription service that adds DNS-based content filtering, threat protection, and ad blocking at the network level. Whether this is worth the subscription cost is a personal decision, but it is worth knowing it exists — it is one of the more useful optional add-on services in the consumer mesh space.
Eero also has solid port forwarding support through the app, which is straightforward to configure for any devices or services on your local network. Just remember that the CGNAT limitation at Starlink’s level means port forwarding rules on the Eero only affect traffic within your local network — external traffic from the internet will still be blocked at Starlink’s CGNAT layer regardless of what the Eero is configured to allow.
Adding Additional Eero Nodes
Additional Eero nodes are added through the app exactly as described in Eero’s setup documentation. Eero’s mesh implementation is one of the more seamless in the consumer market — nodes find each other and establish backhaul connections reliably without manual intervention.
Setting Up TP-Link in Bypass Mode
TP-Link offers two distinct product lines that are relevant here and it is worth distinguishing between them because they target quite different users.
TP-Link Deco is TP-Link’s consumer mesh system — app-managed, user-friendly, and comparable to Eero and Google Nest in its approach. It is a strong product at competitive price points.
TP-Link Archer routers are traditional standalone routers with a full web-based management interface offering significantly more configuration control. They are popular with users who want more capability than consumer mesh systems provide.
TP-Link Omada is TP-Link’s prosumer and small business access point and router ecosystem — more powerful still, with centralized controller management. Worth mentioning for advanced users but beyond the scope of this post.
Setting Up TP-Link Deco
Physical connection is straightforward — connect Ethernet from the Starlink adapter to the WAN port of the primary Deco unit (check your specific model for WAN port identification) and configure through the Deco app.
During setup, select Dynamic IP (DHCP) as your connection type. Deco will acquire an address from Starlink automatically. The setup flow in the app is clear and well-guided.
TP-Link Deco offers more configuration options than Google Nest, including custom DNS server settings, more granular QoS controls, and better port forwarding management — all accessible through the app. It is a good middle ground between the simplicity of Google Nest and the power of a full router interface.
Setting Up TP-Link Archer
This is where things get more interesting for users who want genuine control over their network. Archer routers are configured through a web browser interface at a local IP address (typically 192.168.0.1 or 192.168.1.1 depending on the model) in addition to the Tether app.
Physical connection: Ethernet from the Starlink adapter to the WAN port on the Archer router. On Archer routers the WAN port is clearly labeled and typically a different color from the LAN ports.
Web interface setup:
Connect a computer or phone to the Archer router’s default Wi-Fi network (credentials are on the router label)
Open a browser and navigate to the router’s management address
Run through the quick setup wizard
When prompted for WAN connection type, select Dynamic IP (DHCP)
The router will acquire an IP from Starlink and establish the connection
The Archer web interface gives you access to features that consumer mesh apps simply do not expose: custom DNS servers, detailed firewall rules, static DHCP leases, VLAN configuration on supported models, VPN server and client setup, detailed traffic statistics, and much more. If you are running a home server, NAS device, smart home hub, or any self-hosted service on your local network, this level of control is genuinely useful.
TP-Link and IPTV or VLAN Passthrough
One scenario where TP-Link’s more advanced interface earns its keep is if you ever need VLAN tagging or IPTV passthrough — features that simply do not exist in Google Nest or basic Eero. For standard Starlink residential use these are not relevant, but if you ever layer additional services onto your home network they become important quickly.
Troubleshooting Common Issues After Enabling Bypass Mode
Third-Party Router Not Getting an IP Address
This is the most common issue and is almost always solved by the power cycle sequence: enable bypass mode, wait for Starlink to reboot completely, power off the third-party router, wait 30 seconds, power it back on. The Starlink router needs to fully complete its reboot before the downstream router requests an IP, otherwise the DHCP handshake fails.
If power cycling does not resolve it, check that you are connected to the correct port on your router — WAN not LAN.
Starlink App Shows No Network Information
Expected after bypass mode is enabled. The app communicates with the Starlink router over Wi-Fi, which is now off. Dish status and obstruction data remain available but detailed network statistics may not. This is normal.
Devices Can Access the Internet But Local Network Devices Cannot See Each Other
This is almost always a router configuration issue, not a Starlink issue. Check that all your devices are on the same subnet and that your router is not running in AP mode rather than router mode. AP mode disables routing functions and is the wrong setting for this application.
Intermittent Disconnections After Switching to Third-Party Router
First, verify the Ethernet cable between the adapter and your router is good — reseat both ends and if possible try a different cable. Second, check whether the issue corresponds to times when your Starlink dish has genuine outages (visible in the app’s history). If outages are dish-related they will occur regardless of which router you use. If the cable and dish check out, look at your router’s WAN settings — some routers have aggressive timeout or keep-alive settings that do not play well with the brief interruptions that are a normal characteristic of Starlink service.
Double NAT Is Still Showing After Enabling Bypass Mode
Bypass mode may not have been saved correctly. Open the Starlink app, navigate back to the bypass mode setting, confirm it is toggled on, and repeat the power cycle sequence. On rare occasions the app needs a force-close and reopen before the setting takes effect properly.
Which Router Should You Choose?
This depends entirely on what you need from your network.
Choose Google Nest if you are already in the Google ecosystem, you want the simplest possible setup and management experience, and you do not need advanced configuration options. It is an excellent set-and-forget system for a typical household.
Choose Eero if you want a polished mesh experience with slightly more configuration flexibility than Google Nest, Amazon ecosystem integration appeals to you, or you want the option of the Eero Plus subscription features. It is arguably the most refined consumer mesh experience currently available.
Choose TP-Link Deco if you want good mesh performance at a more competitive price point with more built-in configuration options than Google or Eero without the complexity of a full router interface.
Choose TP-Link Archer or a similar full-featured router if you run home servers or self-hosted services, need precise control over your network, are comfortable with a web-based management interface, or want features like VPN server, detailed firewall rules, or static routing. This is the right choice for technically inclined users who want their home network to behave like a properly administered network rather than a consumer appliance.
Final Thoughts
Bypass mode is one of those changes that, once made, you will wonder why you did not do it from the start. The Starlink router is fine for basic use, but handing routing duties to a device specifically built for that job — and that gives you meaningful control over your own network — is simply the better approach for any user who cares about network quality and reliability.
The setup process is not technically demanding. If you can follow an app setup wizard and connect an Ethernet cable to the right port, you can do this. The power cycle sequence trips up more people than any other step, and now you know about it in advance.
Pick the router platform that matches your technical comfort level and network needs, enable bypass mode, and enjoy the result: a home network running on your terms, backed by Starlink’s satellite connection.
Personal Note
When I first went with Starlink, I wanted to keep my existing Google Nest mesh router system. Even with my old (unreliable) ISP, the Google system successfully distributed Wi-Fi throughout my home and even outside where I wanted it (I have four Nest access points). I didn’t have to touch anything on the Nest side. Just connected the two routers together; connected the Starlink Ethernet cable to the Nest; enabled bypass mode in the SL app, and it was all done. Less than five minutes. Couldn’t have been easier.


