What trips up many new Starlink customers
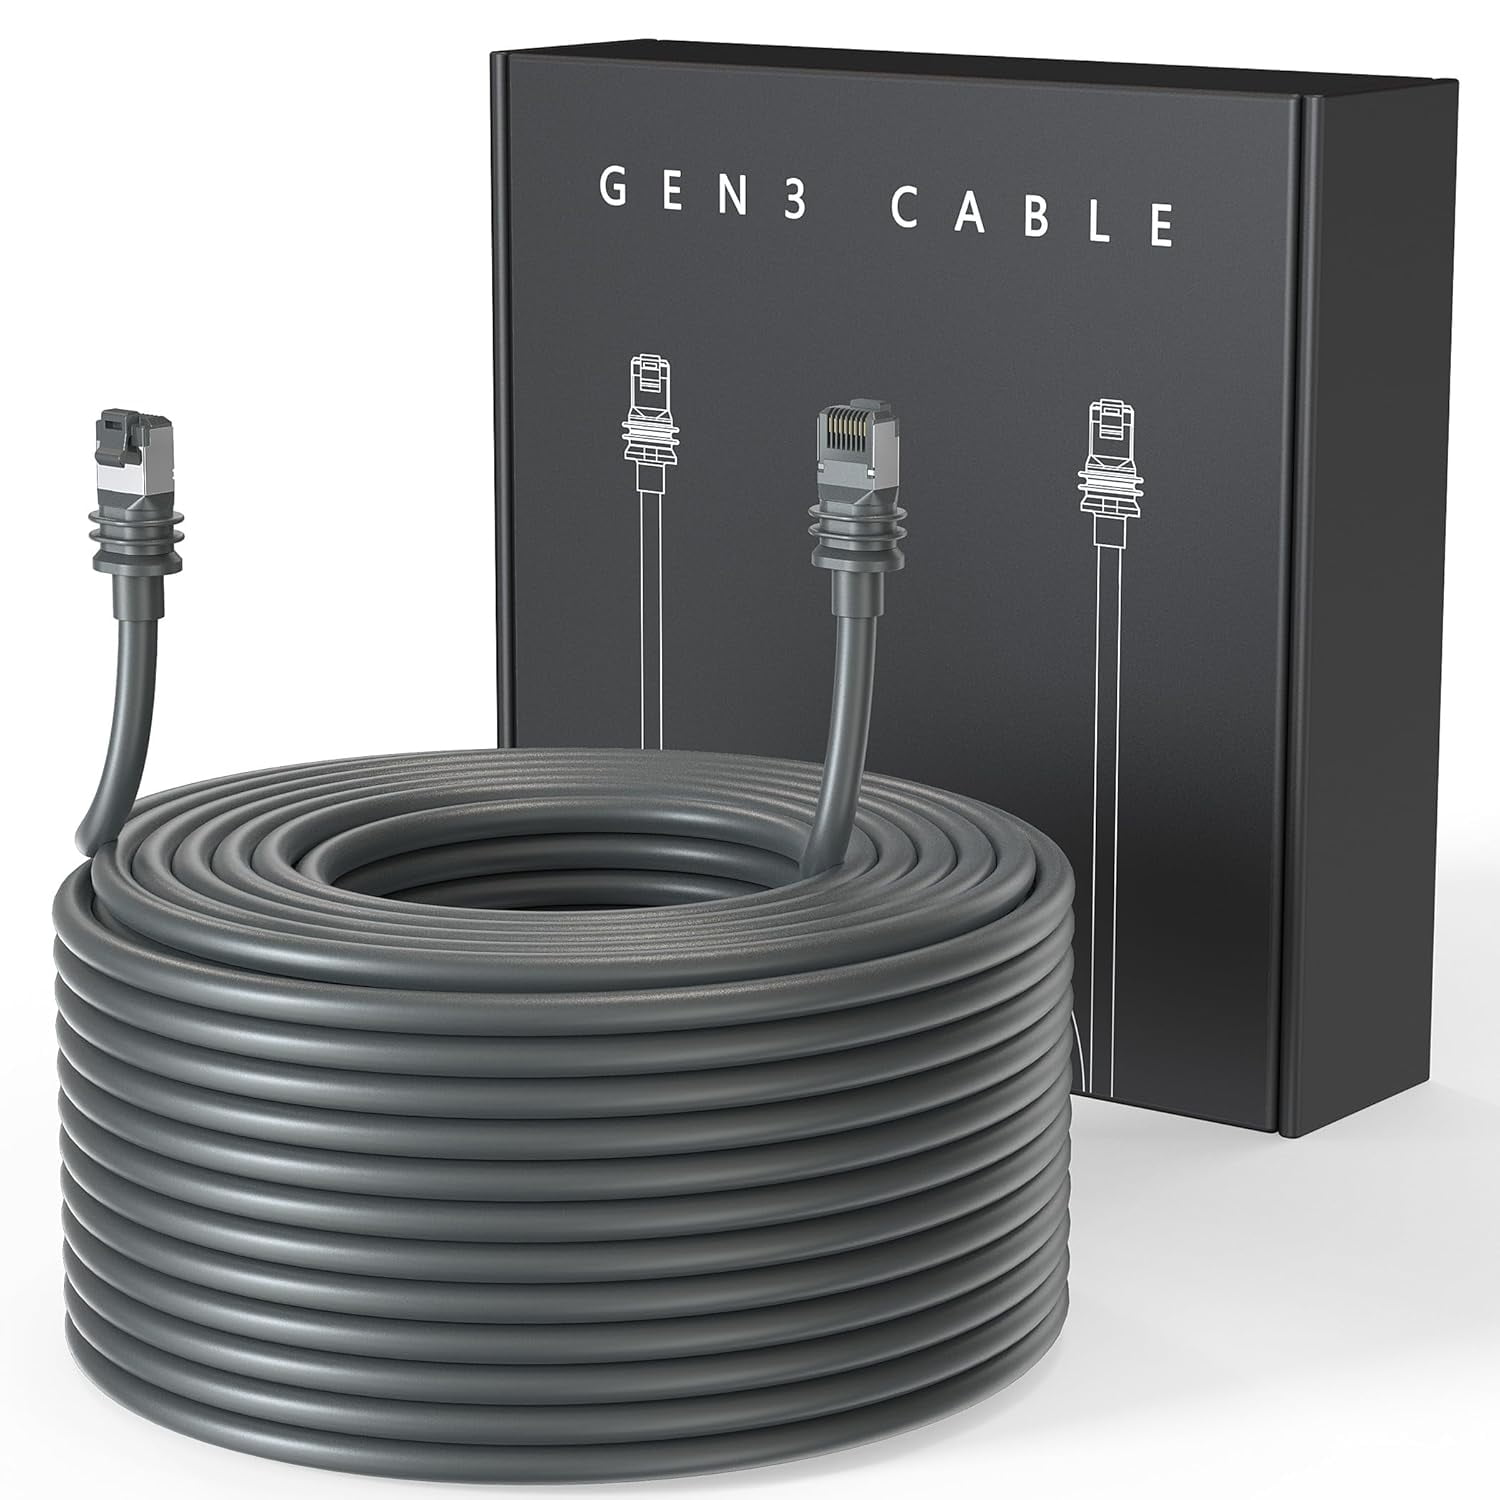
The Starlink Cable Is Not Like Any Ethernet Cable You’ve Used Before
If you’re new to Starlink, you’ve probably already noticed that the hardware looks a little different from anything else you’ve had for home internet. The dish has a spare, utilitarian look to it. The app walks you through most of the setup. And the whole system is designed to feel less like networking gear and more like something you just point at the sky and forget about.
Then you pick up the cable.
Something feels off immediately, even before you plug anything in. It’s heavier than you expect. It doesn’t coil the way Ethernet cables usually do. And when you go to plug it into your router, nothing happens the way you’re used to. No satisfying click. No little plastic tab snapping into place. Just a slightly uncertain moment where you push and push and wonder if you’re doing something wrong.
You’re not doing anything wrong. But the cable does require a different approach, and nobody warns you about this upfront. This post is that warning.
A Quick Note on Self-Orienting
If you did any research before buying Starlink, you may have read that the dish automatically rotates and tilts to find the best signal. That was true of earlier generations. As of the third generation hardware, Dishy no longer self-orients. It’s a fixed, flat panel. You aim it manually when you mount it, and it stays where you put it.
This matters for setup because it means placement decisions are entirely on you. The app will help you identify a good location before you commit to mounting — use it. Obstructions that might have been compensated for by a self-orienting dish in an earlier generation are simply obstructions now. Get the sightlines right from the start.
But that’s a topic for another post. The reason it’s worth mentioning here is that new users sometimes carry assumptions from older reviews and documentation. The cable behavior we’re about to cover applies to current hardware, and so does everything else in this post.

Why the Cable Is Built the Way It Is
Starlink dishes live outside. That’s obvious, but it’s worth thinking through what that actually means for the cable connecting your dish to your home network. That cable runs from a device mounted on your roof, your wall, or a pole in your yard, through whatever gap or conduit gets it inside, and then to your router. Part of it is exposed to rain, freezing temperatures, UV radiation, and whatever else your local climate delivers over the course of years.
Standard Ethernet cable and its connectors are not designed for that environment. The familiar RJ45 connector you’ve been plugging into laptops and routers your whole life is a fragile piece of plastic designed for controlled indoor use. Put it outside and it yellows, cracks, and eventually lets in moisture. The retaining tab breaks off. The contact surfaces corrode.
Starlink’s cable uses weatherproof connectors specifically engineered to resist all of that. The connectors are sealed against moisture. The housing is substantially more robust. The whole assembly is meant to survive years of outdoor exposure without degrading.
To handle outdoor conditions, the cable itself also uses a heavier wire gauge than you’ll find in typical Cat5e or Cat6 patch cables. The conductors are thicker, which makes the cable noticeably stiffer and gives it that slightly industrial feeling in your hands. It resists tight coiling and holds its shape rather than lying flat. This is by design, not a defect, and it’s not something you can or should try to work around by forcing the cable into a tighter bend radius than it wants to take.
The Connectors: What’s Missing and Why It Matters
Here is where most new Starlink users run into trouble.
On a standard RJ45 Ethernet connector, there’s a small plastic tab — the retaining clip. When you push the connector into a jack, that clip deflects and then snaps into a notch inside the port, producing an audible click and a physical lock. You can feel it seat. You know it’s in. To remove the cable, you press the tab and pull.
The Starlink connectors have none of this. There is no retaining clip, and therefore no click. The connector is a smooth, sealed housing, and when you push it into the port on your dish or your router, you get no tactile or auditory confirmation that it’s fully seated.
This is not an oversight. The absence of a retaining clip is part of the weatherproof design. Those clips are plastic, they’re exposed, and they break — especially in cold weather when plastic becomes brittle. A sealed connector with no protruding tab has far fewer failure points over a multi-year outdoor lifespan.
But here’s the practical consequence: the connector requires a noticeably firmer push to seat properly than any Ethernet cable you’ve used before. There’s more friction. The tolerances are tighter. And because there’s no click to tell you you’re done, it’s easy to stop pushing too soon, feel like it’s probably fine, and end up with a connector that is technically in the port but not making reliable electrical contact.
A partially-seated Starlink connector will cause problems that are genuinely difficult to diagnose. You might see intermittent connectivity rather than a clean outage — speeds lower than expected, dropouts that seem random, or a connection that works most of the time but degrades under load. None of these symptoms obviously point to a cable seating issue, and it’s easy to spend time chasing problems in your router settings or your Starlink account when the actual culprit is half a millimeter of unfinished connector travel.
How to Seat the Connectors Correctly
When you’re connecting the Starlink cable — whether at the dish end or the router end — push the connector in further than feels natural. Further than you would with any other Ethernet cable you’ve ever touched. You are not going to break anything by pushing firmly. The connectors are built to take it.
A few practical points worth keeping in mind:
Push straight in, not at an angle. The connector is wider than a standard RJ45 and any lateral force makes full seating harder. Line it up squarely before applying pressure.
Put your thumb on the back face of the connector housing itself, not on the cable behind it. You want to drive the connector forward, not lever it in from behind, which introduces an angle and uneven pressure across the contact face.
After you push, give the connector a gentle tug back. Not hard enough to pull it out — just enough to confirm it’s caught and holding. If it slides back with no resistance, it wasn’t fully seated. Push again.
At the dish end, the geometry can be awkward depending on how and where you’ve mounted the hardware. Take your time. If you’re working in cold weather, the cable will be stiffer than usual and the connector housing may have tightened slightly due to thermal contraction. The same firm-push approach still applies, and if anything the cold makes it more important to be deliberate about it.
The Router End: One More Thing to Know
When you connect the Starlink cable to your router — whether you’re using the Starlink router that comes in the kit or running your own router with the Starlink equipment in Bypass mode — the same rules apply. The port wants the same deliberate, firm insertion.
If you’re running a third-party router in a Bypass configuration, you’re dealing with two separate cable connections: the Starlink cable into the Starlink equipment, and then a standard Ethernet cable from that equipment into your router’s WAN port. Only the Starlink cable has the weatherproof connector. Your normal router cable uses a standard RJ45 and behaves exactly as you’d expect. Keep that distinction clear so you’re not pushing a normal cable in harder than it needs or, worse, giving the Starlink connector the casual half-push you’d give a standard patch cable.
The Bigger Picture
None of this is a criticism of Starlink’s design choices. Weatherproof connectors are the right call for hardware that lives outside in all conditions. The heavier cable gauge is the right call for an outdoor run that may span a significant distance (not recommended over 150 feet). The absence of a fragile retaining clip is the right call for a connector that may need to be disconnected and reconnected in rain, cold, and mud over many years of use.
But there is a real gap between what this hardware requires and what first-time users expect, based on a lifetime of experience with standard Ethernet cables. That gap is where the problems happen — not dramatic failures, just quiet, confusing, intermittently-working connections that take far longer to diagnose than they should.
Push the connector all the way in. Push it a little further than feels right. Give it a gentle tug to confirm it caught. That’s the whole lesson, but it’s worth knowing before you spend an afternoon staring at your router wondering why your speeds look wrong.


